
What Do I Need?
- [tool]Windows 10[/tool]
- [tool]Ubuntu[/tool]
- [tool]Hyper-V[/tool]
What is Hyper-V?
[openingText]Hyper-V is the native hyper-virtualization environment within Microsoft Windows 10. It’s been around for a long time and is secure and capable. Hyper-V lets you run multiple operating systems as virtual machines on Windows. Specifically, it provides hardware virtualization. That means each virtual machine runs on virtual hardware. You can create virtual hard drives, virtual switches, and a number of other virtual devices, all of which can be added to virtual machines.[/openingText]
- [stepName]Install Hyper-V[/stepName][step]
- [howToDirection]Open ‘Control Panel’.[/howToDirection]
- [howToDirection]Click ‘Programs and Features’.[/howToDirection]
- [howToDirection]Click ‘Turn Windows features on or off’.[/howToDirection]
- [howToDirection]Click to enable ‘Hyper-V’,
- ‘Hyper-V Management’
- ‘Hyper-V Platform’
[stepImage]
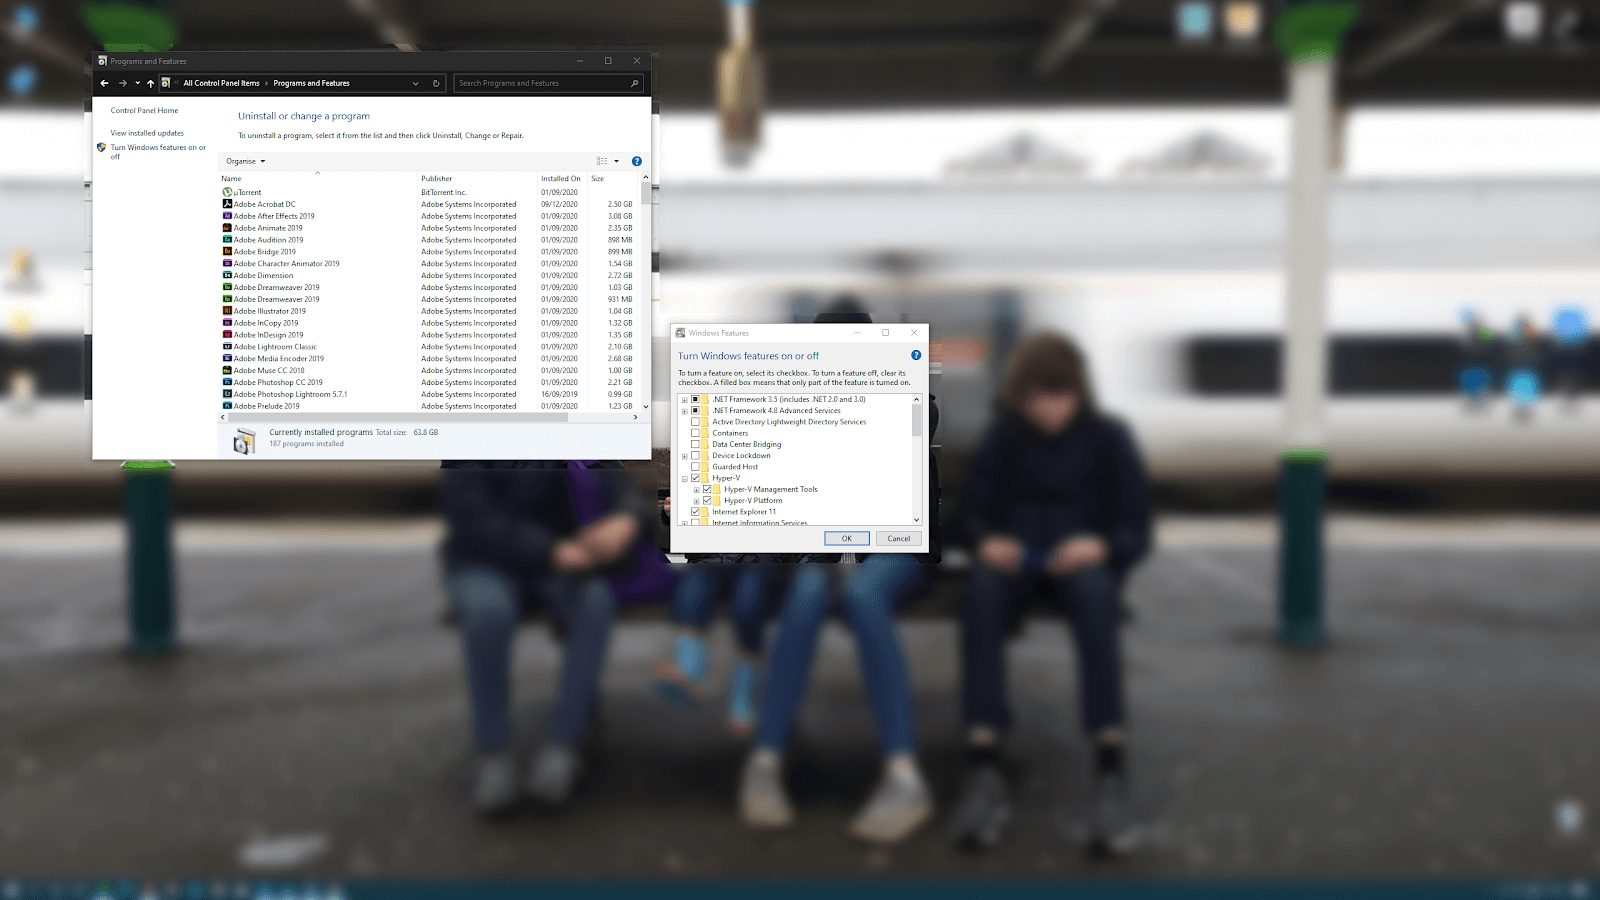
- Click ‘OK’.
- Restart the computer.

[/howToDirection][/step]
- [stepName]Create a Virtual Machine[/stepName][step]
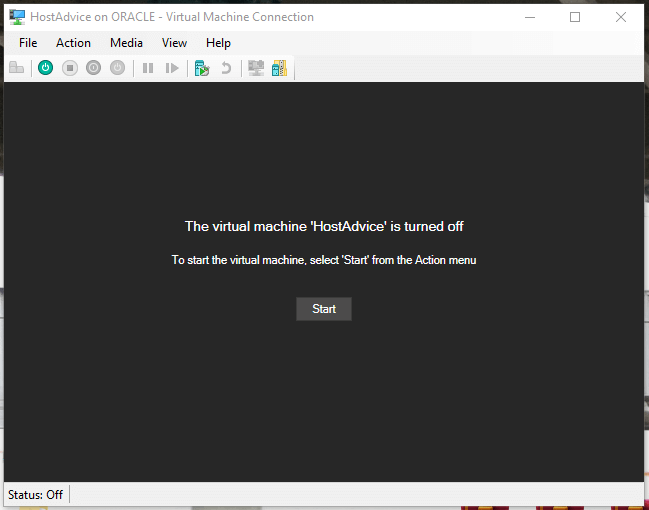
- [howToDirection]Open ‘Hyper-V Manager’.
[stepImage]

- [howToDirection]Next, click ‘Quick Create’.
[stepImage]
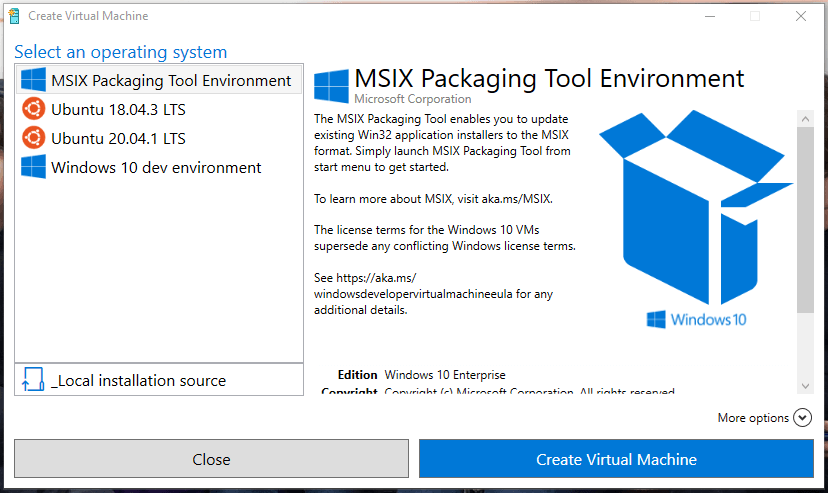
- [howToDirection]Select ‘Ubuntu 20.04.1 LTS’.[/howToDirection]
- [howToDirection]Click ‘More options’.[/howToDirection]
- [howToDirection]Change the name from the default where it says ‘name’. I’d recommend changing the name as it’ll help to find the virtual machine if you’ve been creating a lot of them.
[stepImage]

- [howToDirection]Click ‘Create Virtual Machine’.
[stepImage]

- [howToDirection]Dependent on the speed of your computer it could take a while to finish building your new virtual machine.[/howToDirection]
[/step]


- [stepName]Configure your Ubuntu Virtual Machine[/stepName][step]
[stepImage]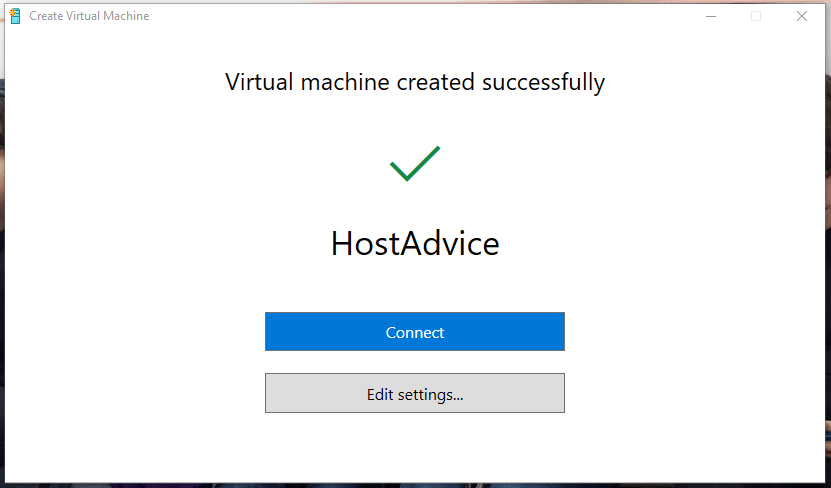
- [howToDirection]Click ‘Connect’.[/howToDirection]
[stepImage]
- [howToDirection]Click ‘Start’.[/howToDirection]
[stepImage]
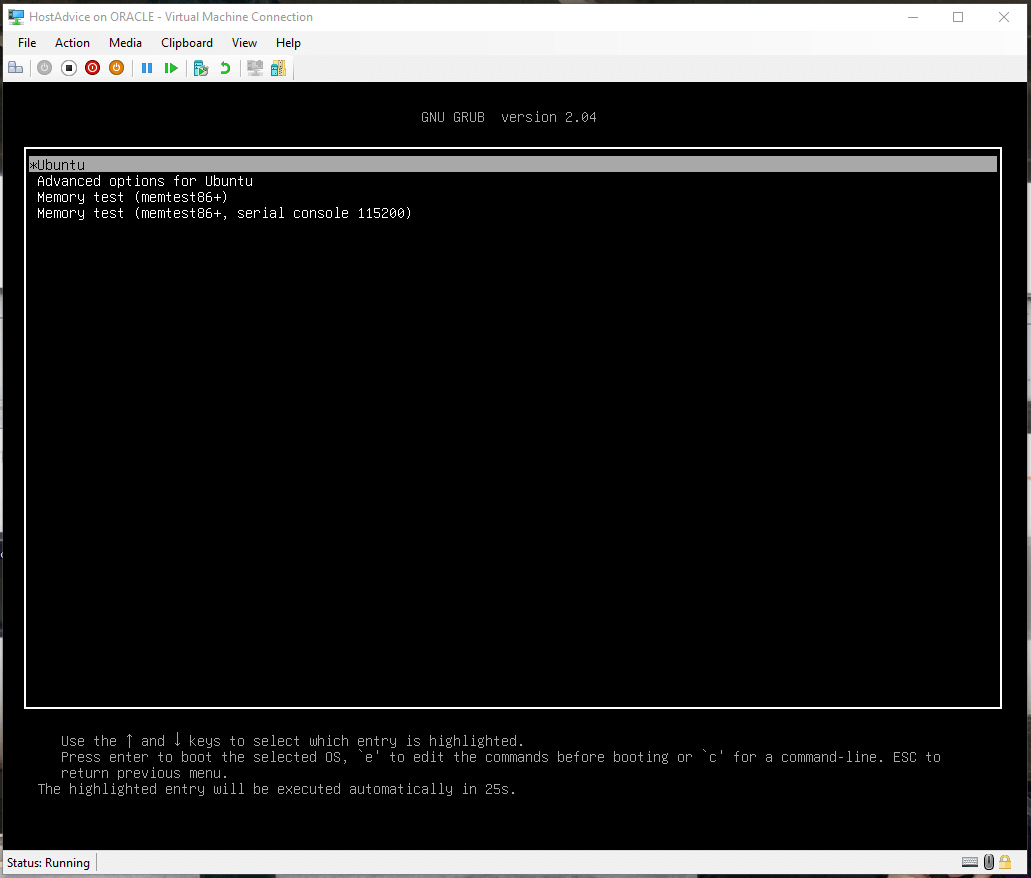
- [howToDirection]Press ‘enter’.[/howToDirection]
- [howToDirection]After about 2-4 minutes the basic installation will complete and you’ll see the next dialog.[/howToDirection]
[stepImage]

- [howToDirection]Click ‘Continue’.[/howToDirection]
[stepImage]

- [howToDirection]Click ‘Continue’.[/howToDirection]
[stepImage]

- [howToDirection]Select your location and click ‘Continue’.[/howToDirection]
[stepImage]

- [howToDirection]Complete the required details and then click ‘Continue’.[/howToDirection]
[stepImage]

- [howToDirection]Wait for the installation to complete.[/howToDirection]
[stepImage]
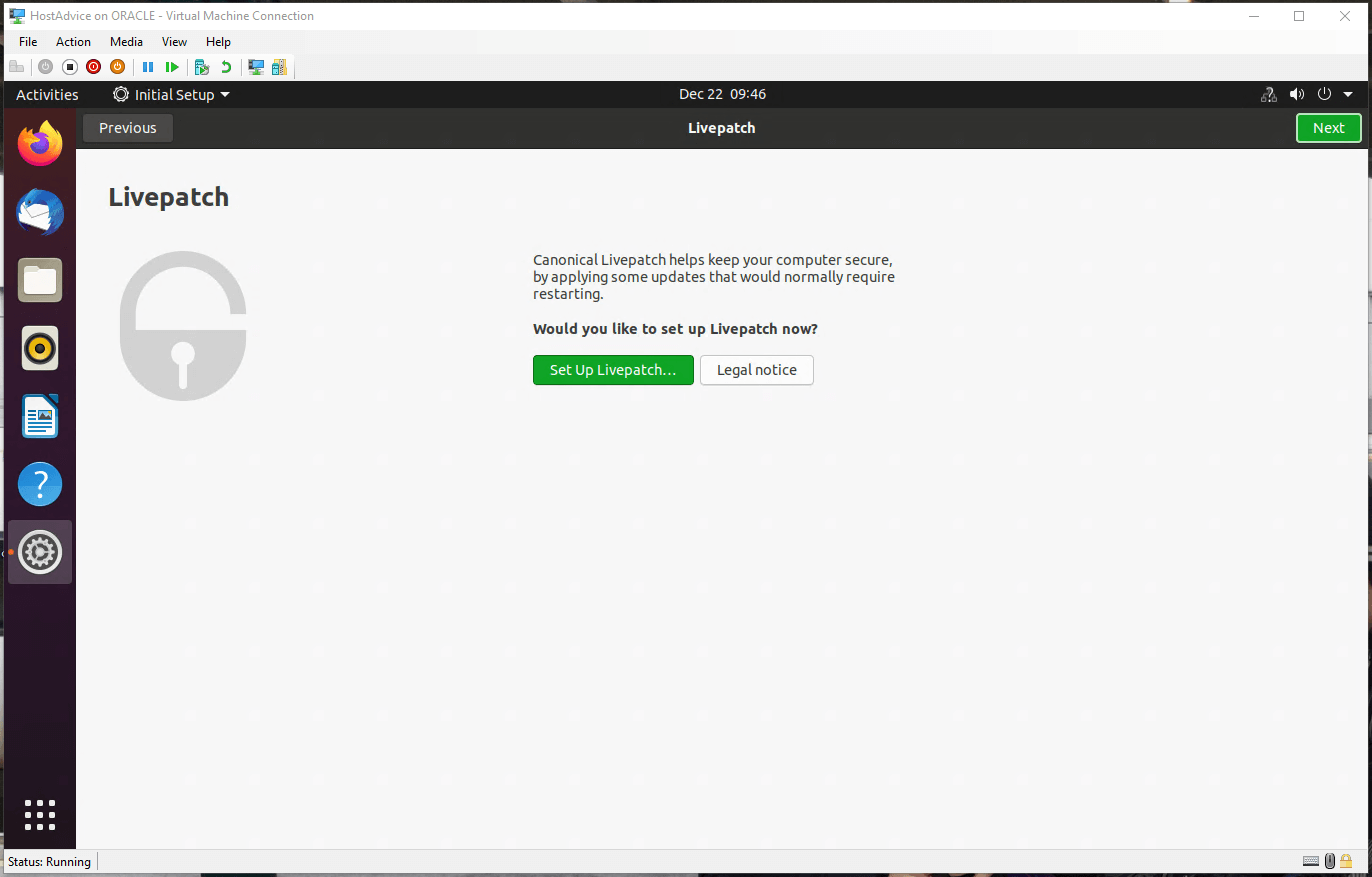
- [howToDirection]Click ‘Skip’.[/howToDirection]
[stepImage]
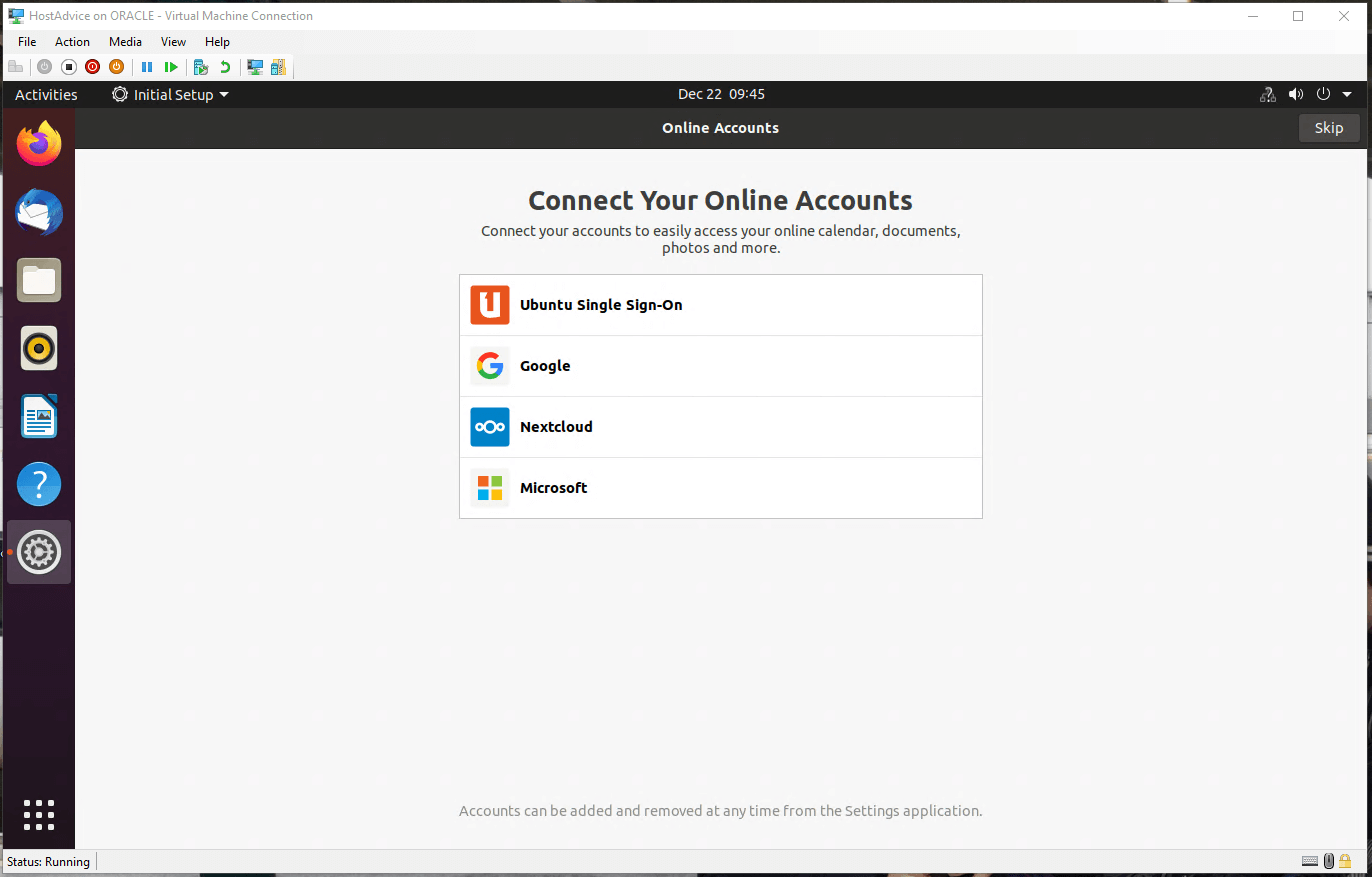
- [howToDirection]Click ‘Next’.[/howToDirection]
[stepImage]
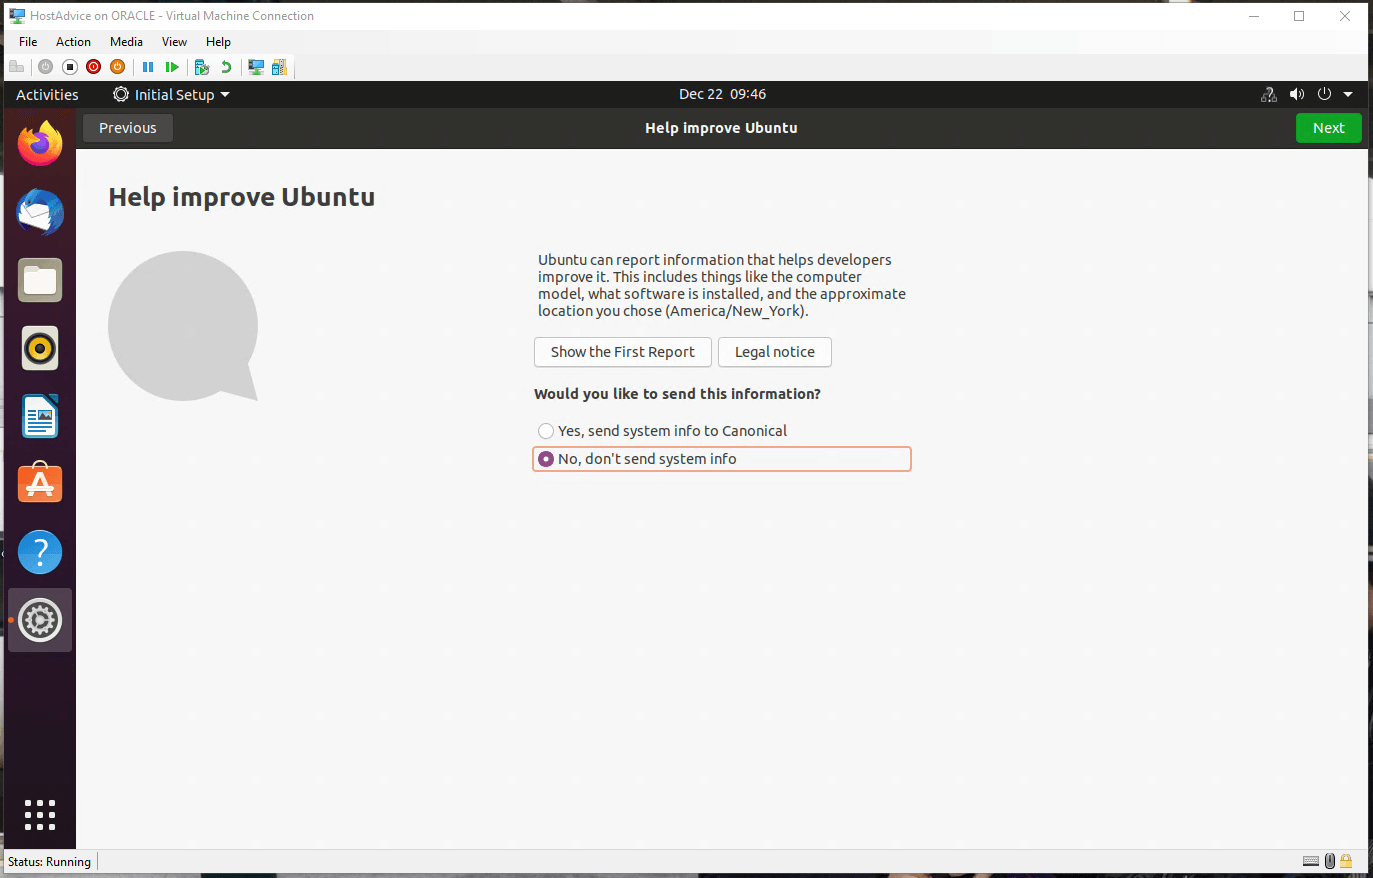
- [howToDirection]Select ‘No, don’t send system info’.[/howToDirection]
- [howToDirection]Click ‘Next’.[/howToDirection]
- [howToDirection]And then, finally, click ‘Done’.[/howToDirection]
[stepImage]

- [howToDirection]You now have a fully functional and operational Ubuntu virtual machine running, virtualized on your computer.[/howToDirection]


[/step]
- [stepName]Power Down Virtual Machine[/stepName][step]
To turn off your virtual machine properly, in other words, in a way that won’t cause problems later on when you need the machine to do your bidding, click the power icon in the top right of your desktop and select ‘Power Off’.
[stepImage]
[/step]
Next Steps
Next, you should ensure that your virtualized machine is completely up to date and secure, especially if you’re using it for mission critical or development projects. To update your machine, use the following command:
sudo apt-get upgrades && apt-get update
Running that command performs a full upgrade and update of all of your virtualized operating system and components. If you experience problems with the internet or network connectivity, check to make sure that your virtual machine is using a virtual switch connection that’s sharing your host computer’s connection.
Conclusion
Congratulations, you now know how to build a virtual machine on your host computer. You can use this for a whole host of applications. For example, I use a number of virtualized machines for computer vision experiments.
So why do we virtualize hardware? Virtualization allows you to:
- Run software that requires older versions of Windows or non-Windows operating systems.
- Experiment with other operating systems. Hyper-V makes it very easy to create and remove different operating systems.
- Test software on multiple operating systems using multiple virtual machines. With Hyper-V, you can run them all on a single desktop or laptop computer. These virtual machines can be exported and then imported into any other Hyper-V system, including Azure.
Most computers run Hyper-V; however, each virtual machine runs a completely separate operating system. You can generally run one or more virtual machines on a computer with 4GB of RAM, though you’ll need more resources for additional virtual machines or to install and run resource-intensive software like games, video editing, and engineering design software.
Hyper-V on Windows supports many different operating systems in a virtual machine, including various releases of Linux, FreeBSD, and Windows. As a reminder, you’ll need to have a valid license for any operating systems you use in the VMs.
- Looking for the best windows hosting? Click this link and check all our recommendations.


